
169_6953When we first bought our house, I had grand visions with what I wanted to do with it. The house had good bones but it was seriously outdated, think 80’s, monotone gray from head to toe, and formica coming from every direction. But like I said, it had good bones, it had been bumped out so all the rooms were oversized. The visions of sugar plums dancing in my head were of deep and thick moldings, warm colors, and wood floors to start.  But in order to make these grand visions (on a low budget) come true we needed to DIY.  Enter my big idea….WORKSHOP.

Before my husband morphed into the wonderful and handy “honey-do” he is now, he really had no idea what the hammer was used for…haha, j/k. But seriously, he had no background or experience in any DIY projects. I, however, came from a family of DIYers, my father was very handy. He pretty much took on any home project in our house and enlisted his children as his assistants.  I returned the favor and enlisted the help of my father to build the ultimate workbench for my new workshop!  It was such a great project, a father-daughter bonding activity.  I actually was the one who started out with the house DIY projects. My first attempt was crown molding, I quickly decided that it just wasn’t my forte but luckily “honey do” picked up the torch. Now he is addicted to all molding and millwork, yay for me! And he has since taken over the workshop, probably why it’s not as organized as it used to be, but hey, I am not complaining.  I will be sure to share many before and after pix from our ongoing house renovations. Here are some great shots of the making of “Honey-Do’s” workshop!

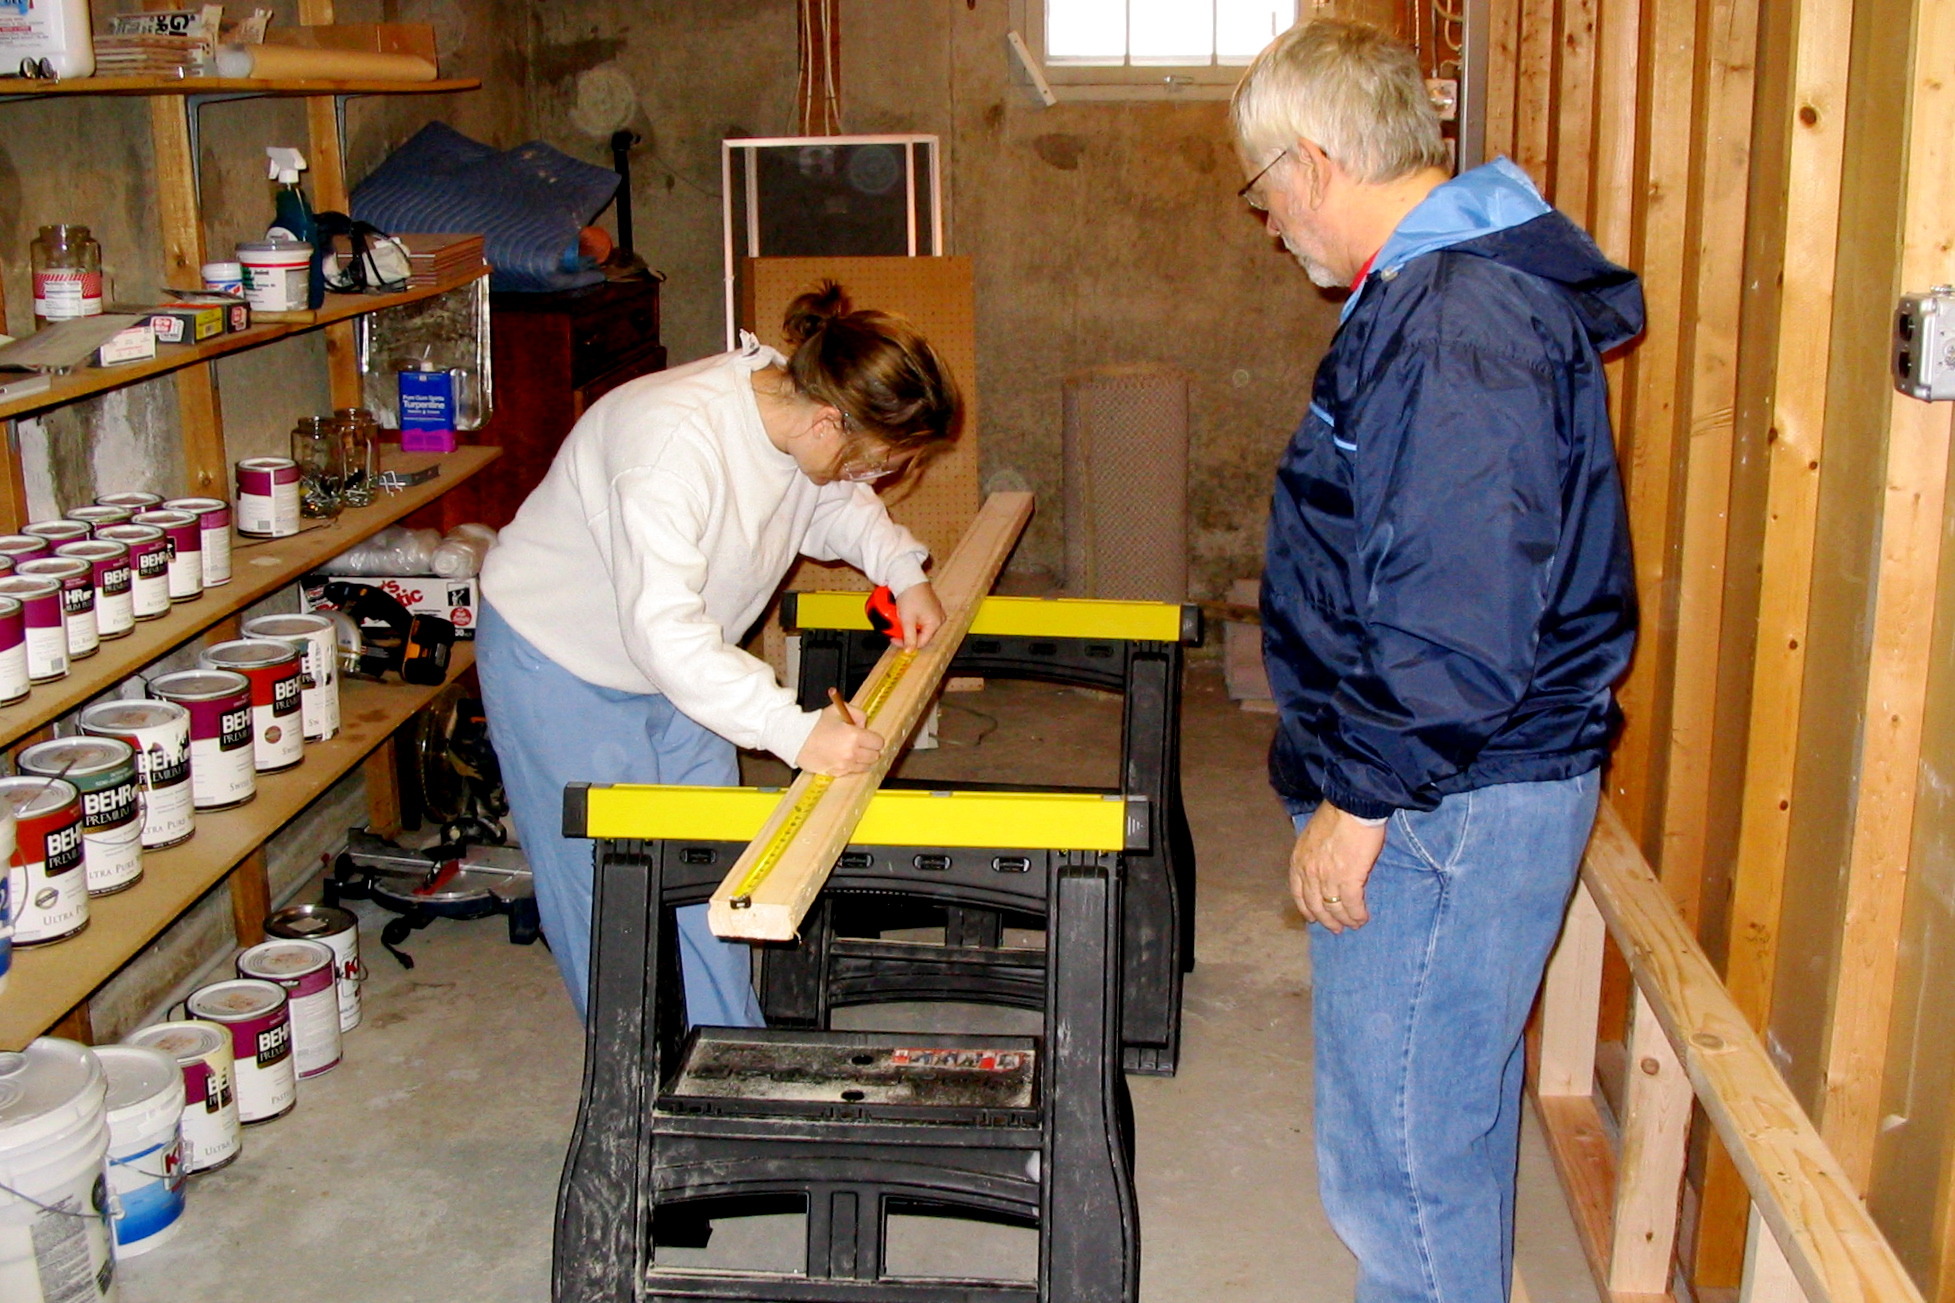
I don’t have the best before picture but you can see it to the right, the area where we want to build the bench. I am a little worker bee. Measure twice, cut once!
169_6910

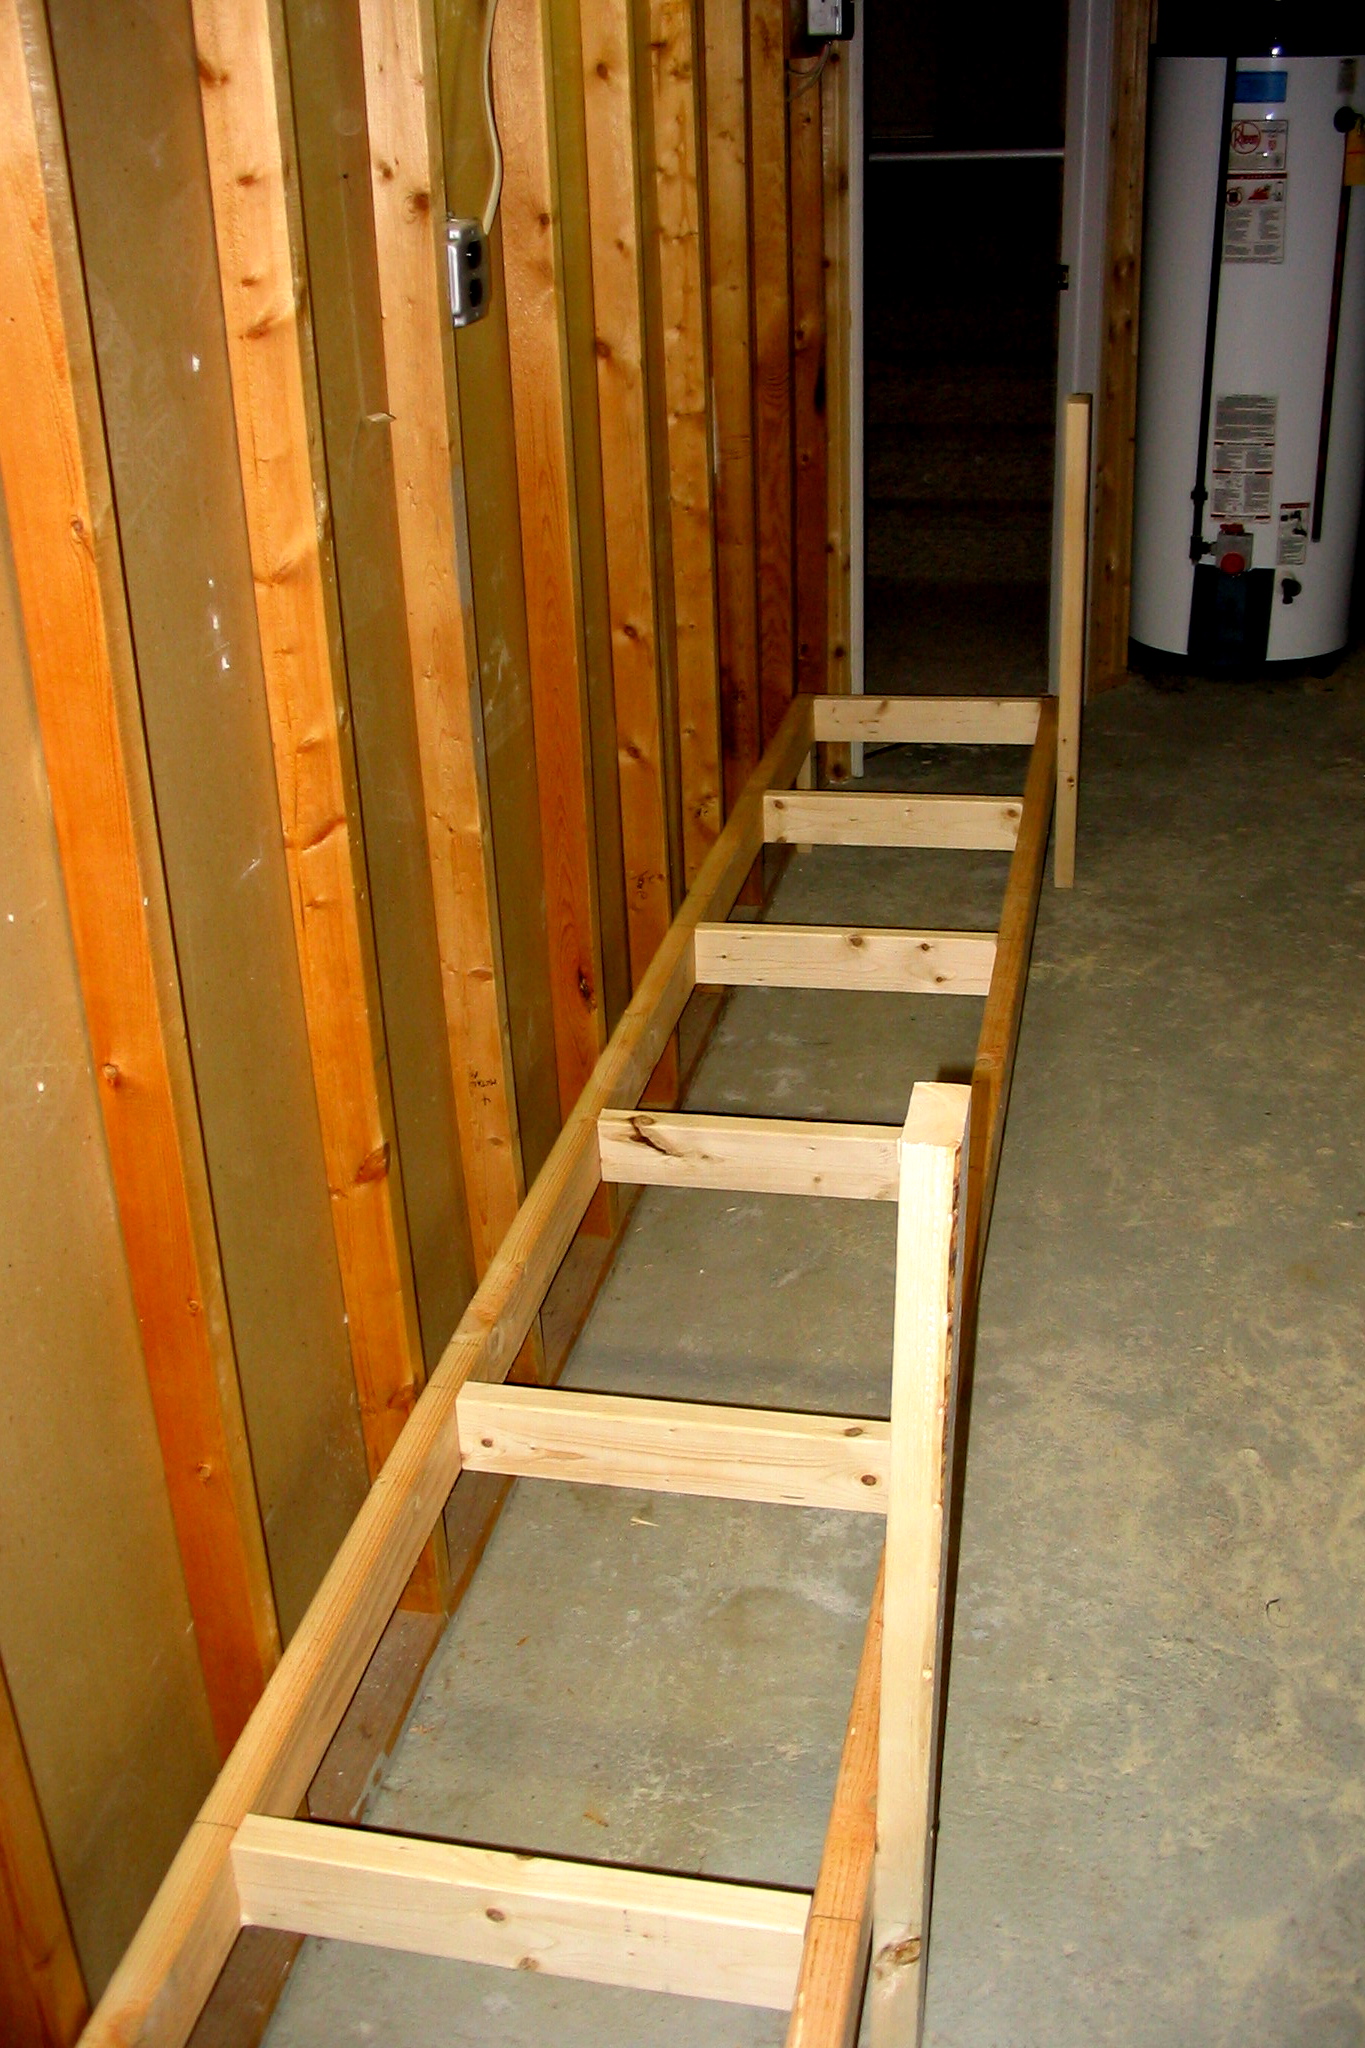
Off to a good start! The beginning of the bottom of the bench.
169_6924

Dad working hard on building the bottom of the bench.

169_6928

The top of the bench is being braced to the bottom!

169_6931

A little cumbersome at times but well worth it!

169_6939

Aligning the fence and installing the miter saw.

169_6941

Working in the electrical boxes and attaching the peg board!

169_6943

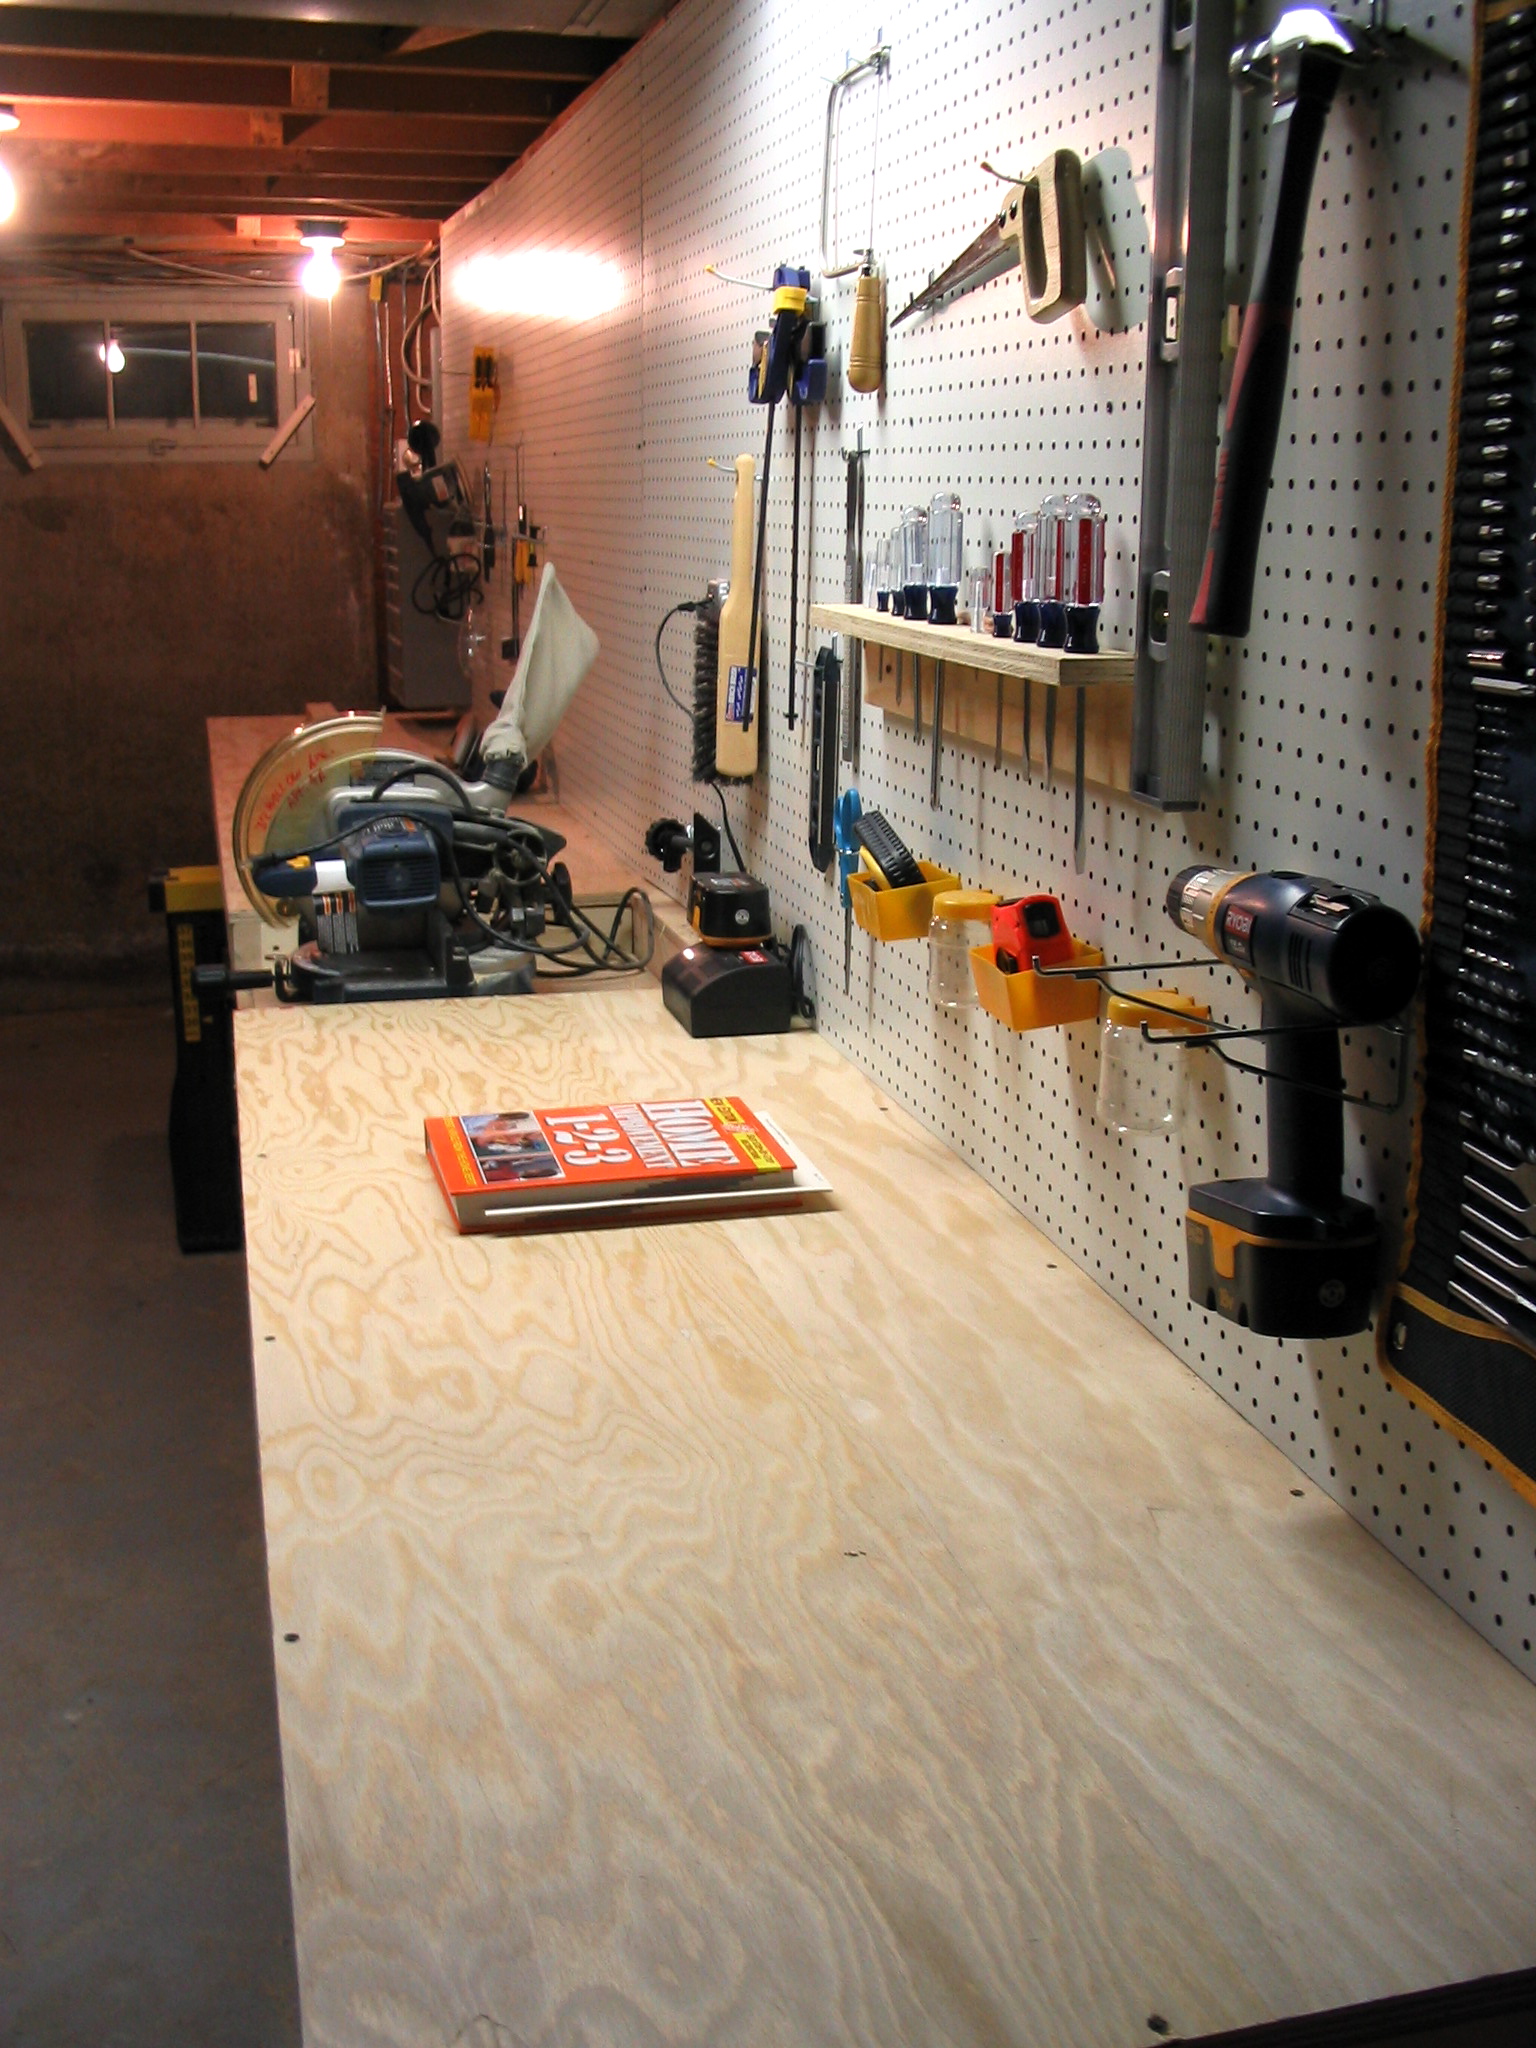
The finished work!  It took us about a weekend to do!

169_6950

Thanks Dad!  I love you.  Happy (early) Father’s Day!

169_6952

SHARE TO FACEBOOK//TWEET THIS//SHARE TO PINTEREST

Girls 23 118We finally finished putting up the trellis. All I really had to do was attach the netting to the metal conduit. Because I the conduit is not directly in the back of the bed, I didn’t want the tomato plants touching the wall. We had to start it at the bar and then stretch it at the bottom to the back of the bed. Luckily this made for a tight connection.

Girls 23 104

It was hard to retrain the tomatoes to go up through the netting, again they really should have been trellised immediately. But I think I managed to make it work!

Girls 23 118

The jalapeno pepper was big enough to be caged!

Girls 23 124

New box of squash, zucchini, and corn are really taking off now!

Girls 23 111

The corn is looking good!

Girls 23 112

The tomatoes are doing great, yikes! They still need to be staked or caged!

Girls 23 106

The radish and lettuce right before harvest!

Girls 23 110

But……the radishes were a bust!

Girls 23 129

I thought they were ready since it had been 1 week past the date. So either I didn’t thin them out properly or they got too hot, which is why the bulb didn’t develop. Or they needed more time!  This was the biggest of the bunch.

Girls 23 101

Since the radishes were a bust, I got paranoid. I threw in some fertilizer in some of the beds. The 2 side beds were not a perfect Mel’s mix. So I took care of them and I also fertilized the tomatoes in the back yard after I weaved them through the netting.  I also fertilized all the containers and potted plants.

Girls 23 132

At least the lettuce was yummy!

Girls 23 126

SHARE TO FACEBOOK//TWEET THIS//SHARE TO PINTEREST

Girls 24 001It feels like we have had rain for 2 weeks straight now!  To beat the rainy day fuddie duddies we stayed busy doing some art projects.  M had another unstructured day (free to do what she wanted to do) in the Art Studio.  I was happy that she was being a little more independant. Since the Art room shares space with the laundry, I was able to catch up on some much needed laundry time while she worked away! First she colored with crayons, then markers, then she was ready to paint. I had to step in and supervise this one a bit.

She likes to paint with each color first.

Girls 24 002

Then she had a designated painting section for each of us. One for Lil S, one for mommy, and one for herself!

Girls 24 003

Beautiful work, don’t you think?

Girls 24 013

I think Big M’s favorite time during Art is handwashing time!

Girls 24 008

Here is a pix of the fun art we did in Art Group last week. I wish I had pix of the kids in action. We did sand art (which I discovered at this blog and where she got from here). Each kid colored with crayons and then with the help of their mommies, followed their crayon lines with glue. Then the fun part….they scooped up sand out of their containers and put on the glue! The result is this!

Girls 24 026

SHARE TO FACEBOOK//TWEET THIS//SHARE TO PINTEREST

Garden 2009 337This week we decided we better put up the trellis since the tomato plants are growing so fast. It probably should have been put up initially when the bed was built.  It was a little cumbersome to try and work around the plants but that’s a rookie gardener for you!  Honey-Do put on his hat and went to work!  We followed the instructions from Mel’s Book.  Here is another great idea for a trellis at Erin’s blog.

I picked up some pieces of 1/2″ metal conduit, some brackets, and elbow connectors. We already had the metal rebars.  We staked the rebars into the ground and slid the conduit over the top.

Garden 2009 356

For added support, we then bracketed them to the side of the raised box and added the conduit elbows.

Garden 2009 358

We then screwed in the top bar across for the final support. I have to still add the nylon netting. The rest of the garden is still pretty maintenance free. The every other day of rain is helping me out!

Garden 2009 361

The radishes are getting close!

Garden 2009 343

The lettuce is just about ready to be harvested!

Garden 2009 339

Unfortunately the parsley bolted to seed so it needs to be pulled out.

Garden 2009 346

The zucchini, squash, and corn are growing like crazy! The move to the new bed proved to be a good choice!

Garden 2009 352

More pepper flowers!

Garden 2009 344

I finally thinned out the tomato plants. I ended up giving away 6 plants on freecycle and 3 to my in-laws. I kept 6 for this bed, probably still a bit crowded but I will take my chances. I need to cage them soon!!!

Garden 2009 350

And for a final pix………the gardener in training!

Garden 2009 375

SHARE TO FACEBOOK//TWEET THIS//SHARE TO PINTEREST